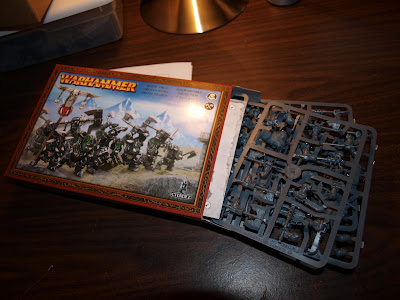
Hey guys This is my first tutorial for warhammer on a budget, and the
point of this tutorial is to create a scenic bases like a rock
outcropping that I will be demonstrating to help to create importance in
certain figure. This is useful as you can use bits from several lines
of models to create a unique figure, and by raising him/her up you are
creating an appearance of size and all around importance and leadership.
Ill be making a base for my Orc Warboss Gobstoppa! using Black orc
bits, this saves 20 bucks on on the resin Warboss funding more core
models. So Without further adue let us begin!
Note
these bases work better for fantasy as the line of sight rules in 40k
will not be kind to your general being taller, but it could still make
em look coolers so feel free to read on anyways<br>
1.
Materials you will need. Polystyrene, Exacto knife, tack glue, acrylic
paint, and super glue. Polystyrene is sold in large sheets for home
insulation, but if you look around the isle they are in you can find
rather large scrap pieces and they will most likely give them to you for
free, saving a couple bucks and the hassle of carrying an 8 foot
sheet.
2. Trace the base with the
eacto knife and any excess that you want hanging
over.
3. Carve it out with your
exacto (be safe kids!) do not use dragging motions as it will create
jagged marks like you see on the left of the piece of
poly.
4. Find a picture of a
stone, rock or terrain you like fr reference as it will help with
general ideas, I wanted and angled rock, so I cut the piece in half at
an angle and started carving it away until it started to almost blend
with the base. You can carve hack, scratch and do about anything to
create the desired affect... its a rock its taken decades of beating you
can get away with about anything... but make sure you do have a
generally flat surface for your model.
5. Time to glue it to the
base, DO NOT use super glue it will eat right trough your poly leaving
you will a mushy rock, use tack glue which includes elmers and wood
glue, or about anything you can find at a craft store. Add a generous
amount and allow plenty of time to dry, once its glued to the base you
can go back to carving and detailing.
6. Add some sand to the
sides to help it blend with the terrain, use the same flock sand ect
that you are using on the rest of the squad/ regiment to help keep them
united.
7. All right now to make it
safe to spray and glue. Like I mentioned earlier super glue eats right
through it , spray paint will too, so to protect your base use a water
based paint, which includes store bought acrylics as well as all your
citidel/ p3 and other specialist paints, this creates a nice coating to
protect it, and is now safe to base/ use super glue
on.
It will take some time for
it to absorb the paint but when its done it should look something like
this.
8. Now's the fun part, you
are now safe to glue your model to you base, you can use crazy glue or
pin it, securing him/her. Now you are all set and free to spray it down
and get to painting!!
All right guys hope this
tutorial helped, feel free to post any of your own tips and experiences,
hope you guys liked my segment and I should be doing more in the
future!


